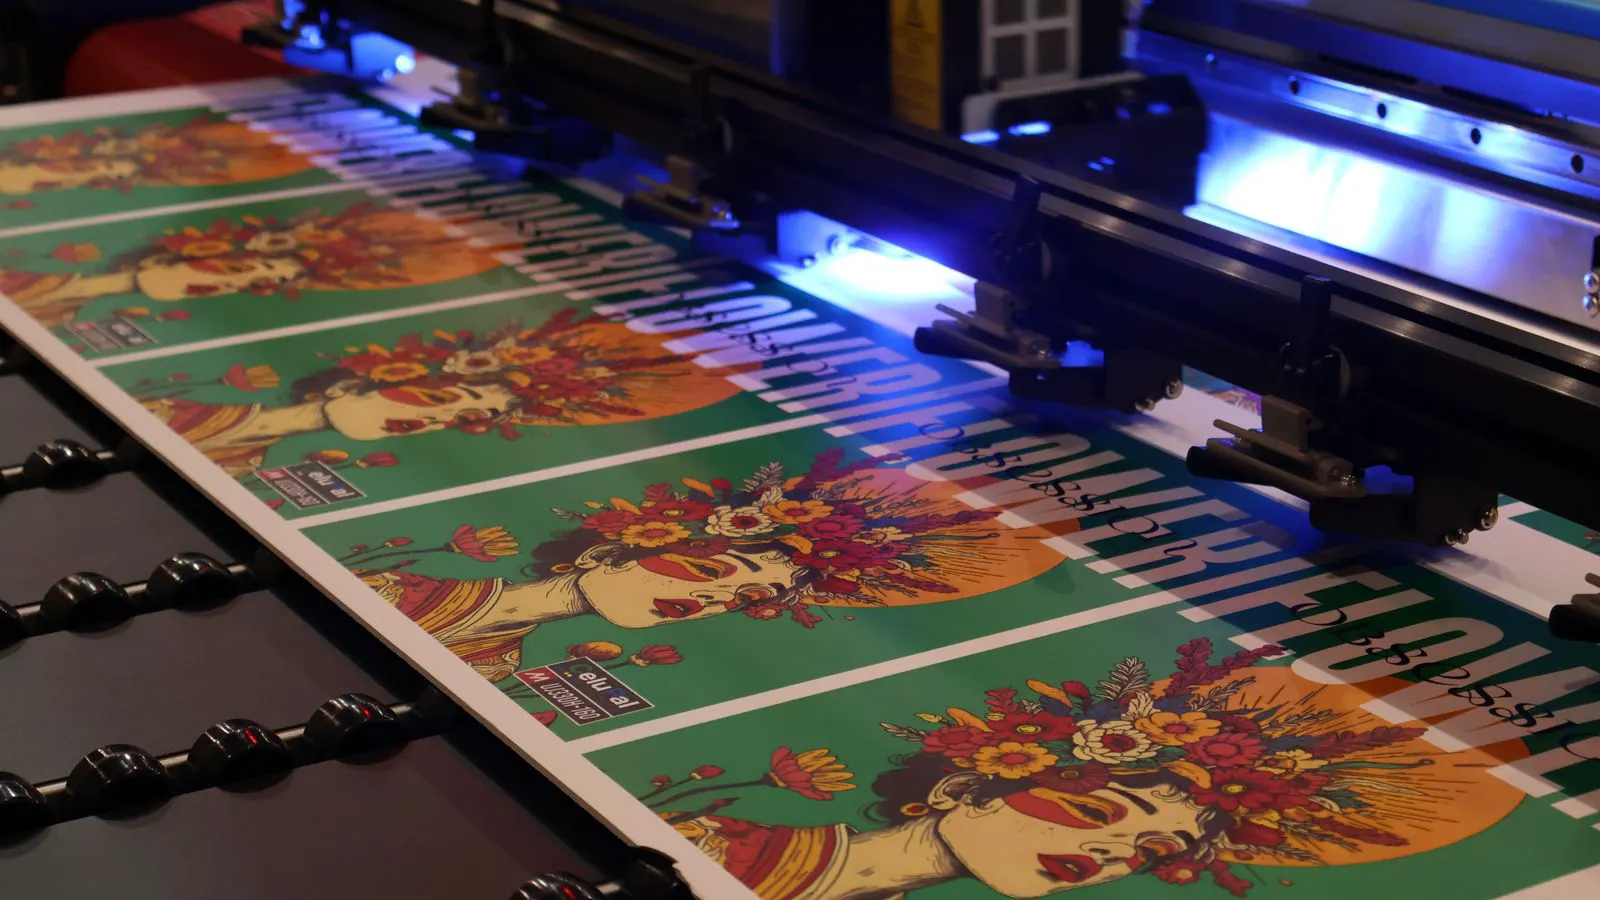
Checklist: Validating Packaging Print Quality Before Production
A structured checklist helps teams verify packaging design, printing methods, and material compatibility before production. It covers ink selection, substrate prep, color control, and inspection standards to reduce rework and ensure final quality.
- Verify all digital files against the approved packaging design proof before release.
- Confirm ink and substrate compatibility for the chosen packaging printing method.
- Check color consistency, registration, and edge finishing against the approved standard.
- Run a short pilot run to test drying, adhesion, and durability under real handling conditions.
Why a Pre-Production Check Matters
A final inspection after the run is finished is too late to save money. The most effective quality control happens before the press starts. A structured review of the packaging design, materials, and printing setup prevents most errors.
The cost of a defect discovered after production scales with the volume of the run. A registration error caught on the first sheet costs an hour of recalibration. The same error found after ten thousand units are printed can mean scrapping the entire lot or reworking the stock, which consumes labor, materials, and machine time. In complex packaging structures, such as a carton that includes a printed label, a foil stamping step, and a final lamination, a single mismatched dimension in the prepress stage can ruin the assembly line.
This guide provides a copyable checklist for teams that manage packaging printing. It groups checks by theme so you can audit each phase quickly. Use it for rigid cartons, flexible pouches, or secondary packaging. The process applies to both in-house operations and outsourced print facilities. When sending files to a third party, this checklist also serves as a communication tool. It defines the expectations for the vendor and reduces the back-and-forth that slows down the production schedule.
1. Verify the Packaging Design Files
The source files are the foundation of the print. If the vector data is broken, no amount of press adjustment will fix the final output. Prepress errors are the most common cause of reprints. They are also the most expensive to fix because they require new plate making or new screen printing.
- Confirm all artwork is vector-based. Raster images should be at least 300 dpi at final size. Low resolution images appear soft on the press. This is especially visible on small text or fine line work. If the original image is a scan, use a high-quality capture method to ensure clarity.
- Check that fonts are outlined or embedded. Missing fonts cause layout shifts in prepress. If a font is not installed on the prepress computer, the software substitutes a default font. This changes the width and height of the characters, breaking the alignment with other design elements.
- Verify bleed and trim lines. Standard bleed is usually 2 to 3 mm beyond the trim mark. The bleed area must be filled with color or image, not white. This prevents white slivers at the edge of the cut. If the bleed is too small, the final die-cutting process will leave gaps.
- Review color mode. Print files must be CMYK, not RGB. RGB colors are designed for screens and use light. CMYK colors use ink on paper. Converting RGB to CMYK can shift hues, particularly bright oranges, pinks, and cyans. Always review the color conversion on the prepress system.
- Check total ink coverage. Most offset and flexo presses have a maximum limit. Exceeding this limit causes the ink to remain wet for longer, leading to smudging and poor drying. High ink coverage areas, such as solid black backgrounds, need special attention.
- Ensure registration marks are present and correctly sized. These marks help the press align the different color layers. If they are missing or too small, the press cannot lock in the registration accurately.
- Confirm that no text or critical graphics cross the fold or cut line. A barcode or a logo that gets cut off is a failed product. Check the die line against the artwork to ensure all critical elements are safely within the cut area.
Red flags:
- Soft edges on vector lines that suggest low resolution.
- Text placed too close to the trim edge.
- Color values that exceed the press limit.
- Missing or misaligned registration marks.
- Files that contain hidden layers or clipped objects that may not print as intended.
2. Match Printing Methods to the Substrate
The choice of packaging printing method depends on the material. A mismatch causes defects that are expensive to fix. Each method has specific mechanical and chemical requirements.
| Packaging Printing Method | Typical Substrates | Key Quality Check |
|---|---|---|
| Offset | Paper, paperboard, laminated film | Color consistency and registration |
| Flexo | Flexible film, corrugated, paper | Ink transfer and drying |
| Digital | Small runs, mixed materials | Color accuracy and speed |
| UV Print | Rigid plastics, some films | Adhesion and surface hardness |
Offset printing uses a plate to transfer ink to a blanket, which then prints onto the substrate. It is the standard for high-quality, high-volume paper packaging. The pressure of the offset press can crush soft, uncoated materials. If the substrate is too thick or too soft, the ink will not transfer evenly.
Flexo printing uses flexible screens. It is ideal for corrugated board and flexible films. The ink transfer depends on the viscosity and the screen tension. If the screen is worn or the ink is too thick, the dots will spread, losing detail.
Digital printing offers speed and flexibility for short runs. It does not require plates. However, the ink types used in digital printing, such as toner or liquid ink, may not adhere as well to certain films as traditional offset inks.
UV printing cures ink with ultraviolet light. It is fast and produces a hard, durable finish. It is often used for rigid plastics or films that require high scratch resistance. The main risk is poor adhesion if the substrate surface is not properly prepared.
Red flags:
- Using offset for a material that cannot handle the pressure.
- Selecting flexo for high-resolution text where dot gain is too high.
- Ignoring the substrate surface finish.
- Choosing a method that does not support the required ink type.
- Using a method that cannot handle the required color gamut.
3. Review Ink and Chemical Compatibility
Ink and substrate compatibility determines durability. The wrong combination leads to scratching, fading, or poor adhesion. This is a chemical interaction, not just a mechanical one.
- Confirm the ink type matches the packaging printing method. Offset inks are designed to flow through the ink fountain. Flexo inks are thicker and require different drying conditions.
- Check that the ink is suitable for the substrate. Some inks are designed for paper and will not adhere to plastic film. Others are formulated for specific types of board.
- Verify the drying method. Heat, UV, or air dry must match the equipment. If the ink requires UV curing but the press only has air drying, the ink will remain sticky and prone to smudging.
- Review the ink viscosity. Too thick or too thin causes defects. Viscosity changes with temperature. A drop in workshop temperature can make ink thicker, leading to poor transfer.
- Confirm the presence of any required additives or primers. Some substrates, particularly polyethylene or polypropylene films, require a primer to allow ink adhesion. Without it, the ink will peel off during handling.
- Check the ink shelf life and storage conditions. Expired ink can separate or change color. Store ink in a cool, dry place away from direct sunlight.
- Verify that the ink meets any required safety or regulatory standards. For food packaging, the ink must comply with contact regulations. Ensure the supplier provides the safety data sheet and compliance certificates.
Red flags:
- Ink pooling in the ink fountain.
- Poor wetting on the substrate surface.
- Color shifting during the drying process.
- Scratching on the surface after handling.
- Ink that does not dry within the required time.
4. Inspect the Packaging Quality Standards
Every run needs a defined standard. Without a clear reference, inspection becomes subjective. “Looks good” is not a standard. “Matches the approved proof” is a standard.
- Define the acceptable color range. Use a spectrophotometer for quantitative checks. A human eye can detect large color shifts, but it cannot measure the difference between a slightly lighter blue and a slightly darker blue. The spectrophotometer provides numerical data that can be compared against the approved standard.
- Set the registration tolerance. A typical limit is 0.1 to 0.2 mm. This is the maximum allowed shift between color layers. If the tolerance is exceeded, the colors will look blurred or misaligned.
- Establish the dot gain limit. This varies by method and substrate. Dot gain is the expansion of ink dots during printing. High dot gain makes fine details disappear. Low dot gain can leave gaps in large color areas.
- Define the scratch and scuff resistance standard. This is usually tested using a standardized abrasion test. The test simulates handling and storage conditions.
- Set the adhesion test requirement. Peel strength is a common metric. It measures how much force is needed to separate the ink from the substrate.
- Confirm the finish standard. Gloss, matte, or uncoated must match the proof. The finish affects the appearance and the feel of the package.
- Review the inspection frequency. Check every 30 to 60 minutes. The frequency should be higher for long runs or new substrates.
Red flags:
- Color values drifting outside the approved range.
- Registration shifting during the run.
- Scratches appearing on the surface.
- Adhesion failing the peel test.
- Missing documentation of the approved standard.
5. Check the Press and Setup
The press setup directly affects the final output. A small error in the setup multiplies across the entire run. The setup involves mechanical, optical, and chemical adjustments.
- Verify the plate or screen is clean and correctly mounted. Dust or ink residue on the plate will print onto the substrate. A misaligned plate will cause registration errors.
- Check the ink fountain levels and viscosity. The ink fountain must be filled to the correct level. The viscosity must be within the specified range.
- Confirm the water or solvent balance. In offset printing, the water balance is critical. Too much water causes ink to break down. Too little water causes ink to stick to the plate.
- Adjust the pressure and registration. The pressure must be even across the print cylinder. The registration must be locked in using the registration marks.
- Run a test sheet and inspect it under a light box. The light box reveals color shifts, registration errors, and ink coverage issues.
- Check the drying unit temperature and speed. The drying unit must be set to the correct temperature and speed to ensure the ink dries properly.
- Verify the cutter or slitter alignment. The cutter must be aligned with the registration marks. A misaligned cutter will produce packages with inconsistent dimensions.
Red flags:
- Uneven ink distribution.
- Poor registration on the test sheet.
- Water or solvent imbalances.
- Misaligned cutting or slitting.
- Press noise or vibration that indicates mechanical issues.
6. Conduct a Pilot Run
A short pilot run reveals issues that a single test sheet misses. It tests the full process from start to finish. The pilot run is a controlled environment where errors can be caught before the full production run begins.
- Print a small quantity of the packaging design. The quantity should be enough to test the full process, but small enough to minimize waste.
- Inspect the first and last sheets of the pilot run. This checks for color consistency over time. If the first and last sheets match, the run is stable.
- Check for color consistency across the run. Use a spectrophotometer to measure the color values.
- Test the adhesion and scratch resistance. These tests require a specific time to dry. Do not test too early.
- Verify the finishing process. Cutting, folding, or lamination. The finishing process can introduce new defects, such as misaligned cuts or poor lamination.
- Review the packaging quality against the approved standard. Compare the pilot run results against the defined standards.
- Document any issues and make adjustments. If there are issues, fix them and run the pilot again. Do not proceed to the full run until the pilot is approved.
Red flags:
- Color shifting between the first and last sheets.
- Adhesion failing after handling.
- Scratches or scuffs on the surface.
- Misaligned cutting or lamination.
- Press instability or mechanical issues.
7. Approve the Production Run
The final approval is a go or no go decision. It confirms that all checks are complete and the run is ready. This is the point of no return. Once the production run starts, the cost of stopping and fixing issues increases.
- Sign off on the prepress files. The files must be approved by the design team and the print team.
- Approve the packaging printing method and ink. The method and ink must be compatible with the substrate and the quality standards.
- Confirm the packaging quality standards. The standards must be clear and measurable.
- Review the pilot run results. The pilot run must meet the approved standard.
- Check the press setup and calibration. The press must be set up and calibrated to the specifications.
- Verify the inspection frequency and reporting. The inspection schedule must be defined and the reporting format must be agreed.
- Authorize the production run. The approval must be documented.
Red flags:
- Unapproved changes to the packaging design.
- Missing or failed pilot run tests.
- Press setup not calibrated.
- Inspection frequency not defined.
- Missing approval documentation.
8. Monitor During Production
Quality control does not end at approval. Continuous monitoring keeps the run on track. The press can drift over time due to wear, temperature changes, or ink consumption. Monitoring catches these drifts before they become defects.
- Inspect every 30 to 60 minutes. The frequency should be consistent and documented.
- Check color, registration, and dot gain. These are the primary indicators of press stability.
- Test adhesion and scratch resistance. These tests should be performed periodically, not just at the start of the run.
- Review the packaging quality against the standard. Compare the current output against the approved standard.
- Document any issues and make adjustments. If there are issues, fix them and document the adjustment.
- Report to the production team. The production team needs to know about any issues so they can take action.
- Keep a log of all checks and corrections. The log is a record of the quality control process. It is useful for future runs and for troubleshooting.
Red flags:
- Color drifting outside the approved range.
- Registration shifting.
- Adhesion failing.
- Scratches or scuffs.
- Missing or delayed inspection records.
- Press instability or mechanical issues.
Frequently asked questions
How often should packaging quality be checked during production?
A typical frequency is every 30 to 60 minutes. Adjust the interval based on the run length and the complexity of the packaging design.
What is the most common cause of packaging printing defects?
Mismatched inks and substrates are a frequent cause. The wrong combination leads to poor adhesion, scratching, or color shifting.
How do I verify the packaging design before press setup?
Check the vector data, color mode, bleed, and trim lines. Confirm that fonts are outlined and that registration marks are present.
Is a pilot run necessary for every packaging printing job?
Yes. A pilot run tests the full process, including drying, adhesion, and finishing. It catches issues that a single test sheet may miss.
What tools are needed to inspect packaging quality?
A light box, colorimeter or spectrophotometer, and a peel test gauge are standard tools. A ruler and magnifier help with registration and dot gain checks.