Checklist: Verifying Debossed and Embossed Label Quality
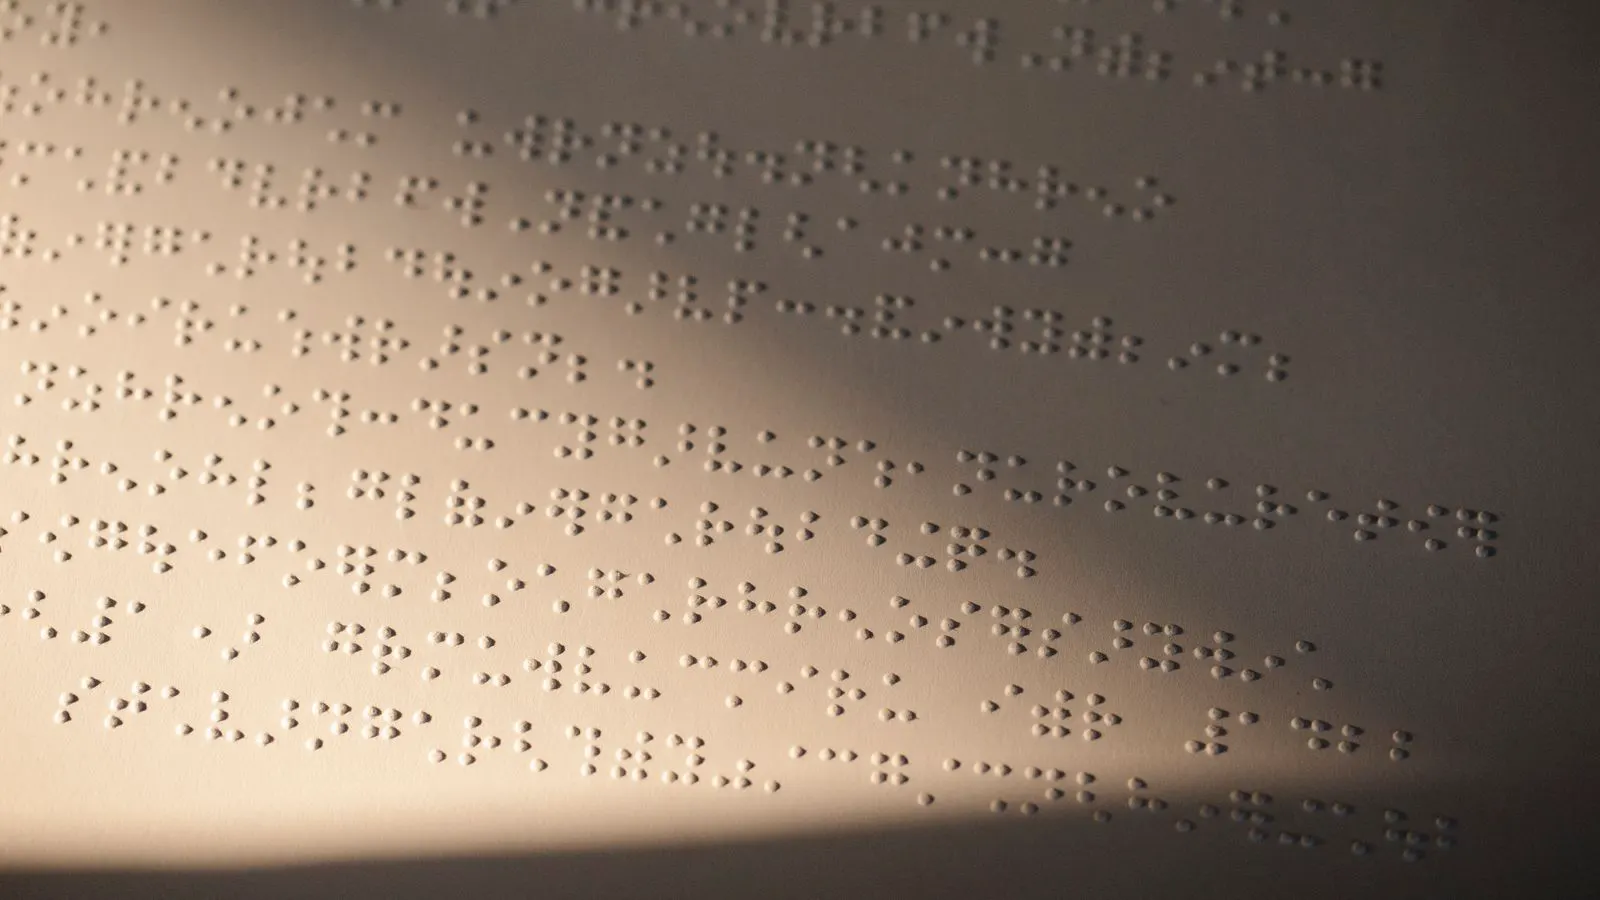
Verify label debossing quality by checking depth, ink transfer, substrate integrity, and registration. This audit checklist groups inspection criteria into practical themes and highlights red flags for embossing inspection and finishing QC.
- Check deboss depth and ink transfer before release.
- Inspect substrate for cracking, tearing, or delamination.
- Verify registration and pattern consistency across the run.
- Use angled lighting to catch surface defects.
- Document findings to support finishing QC records.
What to Check First
Start with a physical inspection before any instrument reading. A debossed label is a three dimensional surface, so the finish must be evaluated from multiple angles. Set aside a sample set that includes first pass, middle, and last roll if available. This sample set gives you a baseline for comparison and helps identify drift in the press or tooling. If the first roll looks sharp but the last roll appears dull, the issue is likely process drift rather than a one off defect.
Place the labels under angled lighting. A single overhead light hides surface problems. Use a second light source from the side to reveal texture, ink transfer, and any cracking in the substrate. For embossed labels, the raised areas catch light. For debossed labels, the recessed areas cast shadows. If the shadows are uneven, the tooling may be worn or the substrate may be inconsistent. Rotate the sample forty five degrees and repeat the check. This reveals subtle variations that a single viewing angle can miss. Look for dust or fiber buildup in the recessed areas, as these often indicate a dirty tooling surface or a dirty substrate feed.
Substrate and Material Checks
The substrate determines how well the finish will hold. Inspect the base material for signs of stress caused by the pressing process. Look for microcracks near the edges of the debossed area. These cracks often appear first at the corners of sharp shapes. If the label uses a laminated or coated substrate, check for separation between layers. Delamination can occur when the adhesive layer is not fully compatible with the heat and pressure used in the process. Peel a corner gently to test the bond strength. If the layers separate easily, the adhesive has not cured properly or the substrate is too brittle for the process.
Check the surface texture of the substrate before and after pressing. Some papers and films are sensitive to pressure. If the surface becomes rough or fuzzy after debossing, the substrate may be too soft or the tooling pressure may be too high. This is a common issue with thin coated films. The finish may look good in the center of the label but show edge wear toward the periphery. Compare the grain direction of the substrate with the pressing direction. If the grain runs perpendicular to the pressing force, the material is more likely to crack or wrinkle. Verify that the substrate thickness matches the specification. A variation of even a fraction of a millimeter can change the depth and feel of the finish.
Depth and Profile Verification
Depth is the most visible characteristic of a debossed finish. A consistent depth ensures that the design reads clearly and feels uniform to the touch. Use a simple depth gauge or a calibrated ruler to measure the recessed area. Compare the measurement against the specification sheet. If the depth varies across the label, the tooling may be misaligned or the substrate may be compressing unevenly. Measure at least three points: center, top left, and bottom right. Record the values in millimeters. A difference of more than a few hundredths of a millimeter is usually noticeable to the user and often fails inspection.
For embossed labels, the raised area should be smooth and even. Run a fingertip lightly across the surface. Any ridges, bumps, or rough spots indicate a problem with the tooling or the substrate. The edges of the raised area should be crisp. If the edges are rounded or fuzzy, the tooling may be worn or the heat settings may be incorrect. Check the tooling surface for wear patterns. If the tooling has a flat spot, the corresponding area of the label will have less definition. Replace or polish the tooling if the wear exceeds the acceptable tolerance for the run.
Ink Transfer and Color Accuracy
Ink transfer is a key quality indicator. The ink should sit in the recessed areas without bleeding onto the surrounding surface. If the ink appears in the background of the label, the ink viscosity may be too high or the pressing time may be too long. Check the color density of the ink. The ink should be consistent across the entire design. If the color fades in some areas, the ink may be running out or the transfer pressure may be uneven. Use a colorimeter or a densitometer if available. Compare the measured value against the standard. If the value is outside the accepted range, adjust the ink supply or the pressure settings.
For foil or metallic inks, check for flaking or lifting. The foil should bond securely to the substrate. If the foil lifts at the edges, the adhesive may not have cured properly or the substrate may have been too cool during application. Inspect the foil under magnification. Tiny particles of foil in the background are a red flag for poor application. Wipe the surface gently with a lint free cloth. If the foil transfers to the cloth, the bond is weak. Ensure that the foil is applied at the correct temperature and that the substrate is dry. Moisture on the substrate prevents proper adhesion and leads to peeling.
Registration and Pattern Consistency
Registration ensures that the debossed design aligns correctly with the printed or pre-existing graphics. Check that the debossed area matches the intended position on the label. If the design is off-center, the tooling may be misaligned or the substrate may be shifting during the press. For multi color or multi element designs, verify that all elements align with each other. A slight shift in one element can make the entire finish look sloppy. Use a registration gauge or a transparent overlay to check alignment. Compare the overlay against the label surface. If the lines do not match, adjust the feed mechanism or the tooling position.
Pattern consistency is critical for repeated designs. If the label includes a repeating motif, check that each instance is identical in size and depth. Variation in pattern size indicates that the substrate is stretching or the tooling is not pressing evenly. This is especially noticeable on long runs where temperature and humidity can affect the material. Check the first, middle, and last labels in the run. If the pattern changes over time, the substrate may be relaxing or the press may be drifting. Adjust the tension or the press settings to maintain consistency.
Table: Common Defects and Their Causes
| Defect | Likely Cause | Action |
|---|---|---|
| Cracking at edges | Substrate too thin or pressure too high | Reduce pressure or use a thicker substrate |
| Uneven depth | Tooling misalignment or substrate compression | Check tooling alignment and calibrate press |
| Ink bleeding into background | Ink viscosity too high or excess pressure | Adjust ink formulation or reduce pressing time |
| Delamination | Adhesive incompatible with heat and pressure | Verify adhesive compatibility and cure conditions |
| Foil flaking | Poor foil bonding or substrate too cool | Ensure proper surface prep and cure temperature |
| Fuzzy edges | Worn tooling or substrate too soft | Replace tooling or switch to a firmer substrate |
Finishing QC and Documentation
Finishing QC is not just about visual checks. It is about creating a record that can be referenced if issues arise later. Document each sample with a photograph, the date, the roll number, and the inspector’s name. Include measurements for depth, color density, and registration. If a defect is found, note its location on the label and its frequency across the run. This documentation supports quality claims and helps identify root causes. Use a high resolution camera to capture the defect. Zoom in on the area of concern. This makes it easier to analyze the problem later.
Use a standardized inspection form for each run. The form should include fields for substrate type, tooling condition, press settings, and environmental conditions. Temperature and humidity can affect the substrate and the adhesive. If the environment is outside the recommended range, note it on the form. This context helps when troubleshooting later. Keep the forms in a secure location. If a customer reports a defect, the form provides a clear history of the process. This helps isolate whether the issue occurred during production or during subsequent handling.
Red Flags to Watch For
Red flags are subtle signs that a problem may develop later. Watch for the following:
- Slight variation in depth across the run. This may indicate drift in the press or tooling wear.
- Ink that sits too high in the recessed area. This can cause smudging during handling or lamination.
- Substrate that feels soft or spongy after pressing. This may indicate that the material is not suitable for the process.
- Foil that lifts slightly at the corners. This can worsen during transport or storage.
- Registration that shifts by a small amount from one label to the next. This indicates instability in the substrate feed.
If any of these signs appear, stop the run and investigate. Do not assume the problem will resolve itself. A small issue can become a large one if ignored. Document the red flag and take corrective action. This prevents the defect from reaching the customer.
Final Verification Steps
Before releasing the run, perform a final check on a random sample from the last roll. This sample represents the final state of the run. Check all the criteria from the previous sections. Verify depth, ink transfer, registration, and substrate integrity. If any criterion fails, hold the run and investigate the cause. Do not release a run with known defects, even if the defects are minor. Minor defects can become major issues during downstream processing or end use. For example, a slight ink bleed may look acceptable on the roll but spread when the label is placed in a humid environment.
If the run passes all checks, sign off on the finishing QC record. Include the sample set in the record. Keep the record with the production files. This ensures that the label debossing checklist is applied consistently and that the quality of the finish is documented for future reference. Archive the sample set with the record. This provides a physical reference if a dispute arises later. The sample set serves as proof of the quality achieved at the time of production.
Frequently asked questions
What is the minimum depth for a debossed label?
Depth depends on the substrate and design complexity. General practice is to use a depth that is visible and tactile without compromising the substrate. Refer to the specification sheet for the required value.
How do I check for ink transfer?
Inspect the recessed area under angled lighting. The ink should fill the recess without bleeding onto the surrounding surface. Use a magnifier to check for stray ink particles in the background.
Can I use the same checklist for embossed and debossed labels?
Yes, the core criteria are the same. The difference is that embossed labels have raised areas, while debossed labels have recessed areas. Adjust the lighting and tactile checks accordingly.
How often should I check registration?
Check registration at the start of the run, at regular intervals, and at the end. If the substrate is stable, a check every few hundred labels is sufficient. Increase frequency if the substrate is thin or the run is long.
What should I do if I find a red flag?
Document the defect, hold the run, and investigate the cause. Do not release the run until the issue is resolved and the fix is verified.